It's the first day of half term and although Halloween is little way off yet I thought it would be fun to carve a pumpkin to put on our front step to add some orangey colour to this increasingly autumnal week.
I'm actually not a huge fan of gruesome decorations for Halloween but since we do get children collecting sweets in the village (including my own) I make a point of decorating in some way so they know they are welcome to knock. (We always avoid bothering anyone who doesn't have a pumpkin or something similar on display on October 31.)
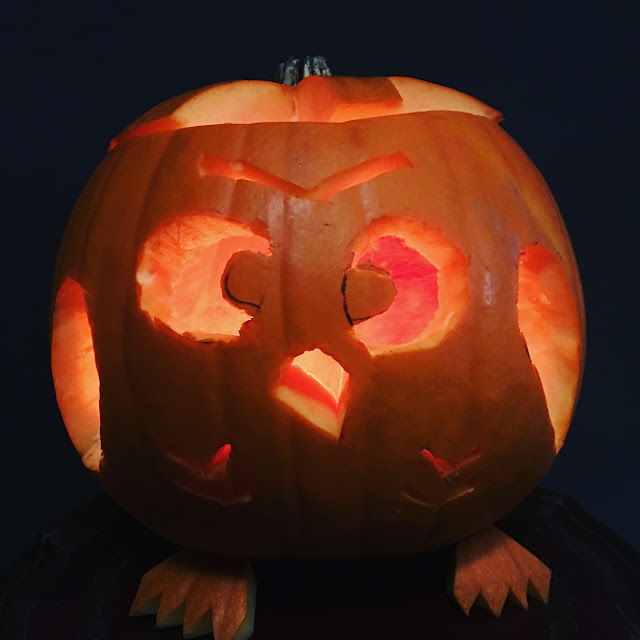
Anyway I'm a big fan of lighting up the dark at this time of year - in the past we have done smiley faces and Christian symbols but this year my daughter was very keen to carve an owl.
She'd been browsing online for ideas and was very keen to show me all of the elaborate carvings she had found. You can find lots of ideas and tutorials online at the Families Online website which has a whole host of Halloween articles with costume, craft and activity ideas.
Don't Miss Halloween Custom Gifts
You can do it yourself or have their team of professionals design your eye-catching custom lapel pins. Can be worn on coats, hats, scarves, shoes, backpacks, and gloves. In addition to pins, you can also customize patches on their website and accessories for Halloween costumes with beautiful character art designs. The ideal Halloween gift for a friend, wife, daughter, mother, or sister.
She was particularly keen to create an owl and showed me images of some amazing owly creations she had been inspired by.
I reminded her of my limited equipment, patience and crafting ability and so together we adapted some of her favourite designs into one which could be hacked with a selection of kitchen knives and a large spoon! I would advise buying the specialist pumpkin carving kits which usually come with a scoop and carving tools - I was just too impatient and keen to get going with our pumpkin.
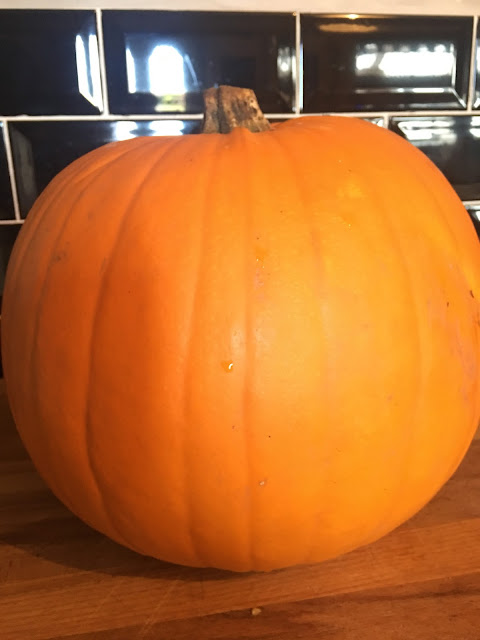
Firstly I used a large sharp knife to cut the lid off. Then I scooped out the stringy bits and seeds. I'd like to say I then cut out lots of tasty nutritious pumpkin flesh out to make soup, muffins or pie but no-one in our household likes pumpkin in any form so it actually went into the recycling.
Then, using a marker pen, we worked together to add design features to our pumpkin. My daughter wanted to include wings and a unibrow and a feathery effect under our owl's eyes. It was my idea to use slices of pumpkin from the lid to make feet which have the added advantage of tipping the pumpkin upwards at the front so you can really see the features.
We used a fish filleting knife and a small vegetable prep knife to cut carefully round the features we had drawn onto the pumpkin then when we had the basic features carved I went back with a very sharp knife to tidy up dangling stringy bits and to make the shapes sharper.
The whole thing took about 20 minutes. We then added two tea lights to the interior of the pumpkin, placing them behind the eyes. You can use battery operated "fake" tea lights if you don't want a flame.
We think our illuminated owl looks fantastic even in daylight, and the children cannot wait for darkness to fall to light the candles to show off the full effect.
Disclaimer: This is a sponsored post. Views and opinions remain honest and my own.


